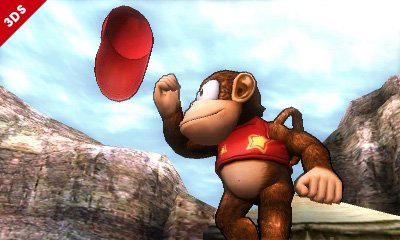
| Peanut Popgun |
|
Diddy Kong's neutral special remains the same from Brawl. Diddy Kong gets his Peanute Popguns out and starts shooting Peanuts at the opponent. The distance and speed of the peanuts depend on how much you charge. However, if you charge too long, it will explode in your face, causing you damage and stunning you briefly.
|
 |
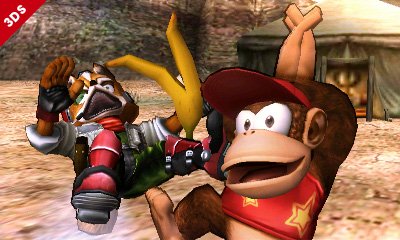
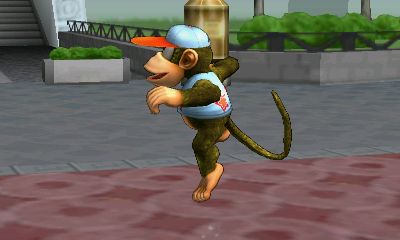
 | Monkey Flip |
|
Diddy Kong's side move has Diddy Kong doing a flip onto the opponent. He hits them a few times and then jumps off them upwards causing more damage as they're pushed to the floor
|
 |
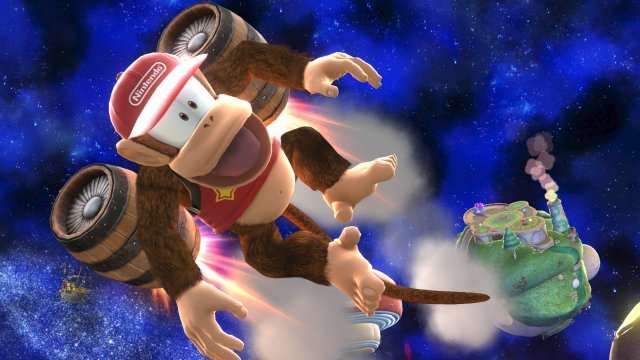
 | Rocketbarrel Boost |
|
Diddy Kong's recovery move is a boost with his two Rocketbarrels. These send Diddy Kong upwards, shooting off in ther direction you point, with the duration dependant upon the amount of time you take to charge. If you boost through people, you can cause decent damage. If you're attacked, the barrels will separate from you and blast off.
|
 |
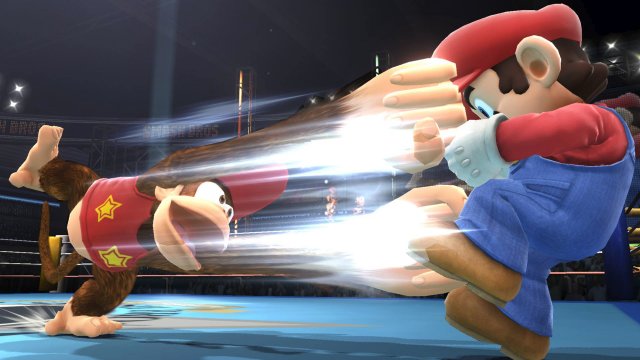
 | Banana Peel |
|
Diddy Kong's down special simply has him pull up a Banana Peel and throw it backwards. Unlike in Super Smash Bros. Brawl, where you could do this multiple times, you can only have one banana out at any one time.
|
 |
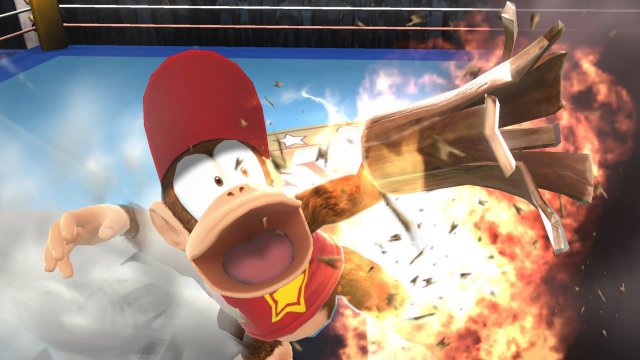
| | Final Smash: Rocketbarrel Barrage |
|
Diddy Kong's Final Smash remains unchanged from Super Smash Bros. Brawl. Diddy Kong boosts up on his Rocketbarrels and can essentially move anywhere with no limit while the Final Smash is in effect. Diddy Kong is armed with two popguns and can fire peanuts at people below. These peanuts, unlike the ones on the neutral special move explode causing massive damage. If anyone comes into contact with Diddy while he's flying, they also receive damage. At the end of the attack, the Rocketbarrels explode.
|
 |
Coming soon.