
| Wild Pokémon Mechanics | |||||||||||||||||||||||||||||||||
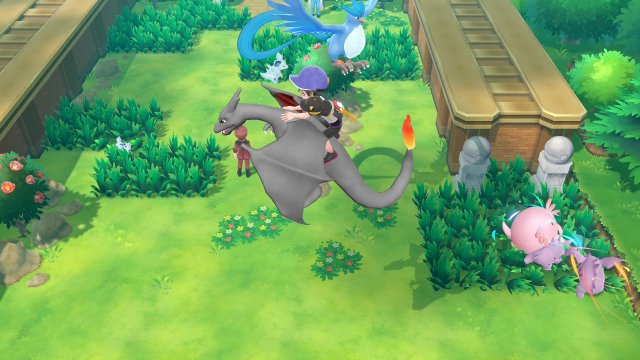
Pokémon Let's Go Pikachu and Let's Go Eevee feature a change to the Pokémon wild encounters. Wild encounters have changed considerably from past games. First, the Pokémon appear on the overworld and encounters start when you walk into it. Each Pokémon may sometimes have an aura. If it's a red aura, the Pokémon will be larger than normal. If it's a blue aura, it'll be smaller than normal. If it has stars above its head and the Shiny Colours, it will be Shiny. Each area has got a specific limit to the amount of spawns that can be available at any one time, and areas with large spawn areas such as caves and water routes can spawn Pokémon off-screen, otherwise they spawn around the patches of grass. Each area also has a maximum spawn duration which is typically around 150 seconds. However, Pokémon can despawn ahead of that if the spawning of another Pokémon is calculated to happen. Below is a chart showing all the maximum spawns in each area. However, when you do interact with Wild Pokémon, you no longer battle to weaken them. Instead, you go to a capture screen. |
 |
||||||||||||||||||||||||||||||||
| Catch Calculation | |||||||||||||||||||||||||||||||||
|
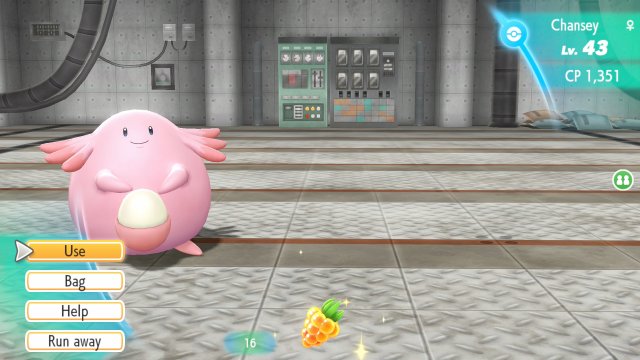
This screen is like the capture in Pokémon GO where you have the Pokémon and just throw the ball at it. This is done with the Joy-Cons motion detection in Docked Mode or using motion or the control stick in Handheld mode. The better the throw into the circle around the Pokémon, the better the chance of capture Catch rate is a completely different situation to the previous and subsequent Pokémon games with the Pokémon's Catch Rate being modified through a variety of means. ShakeChance65535 / (255/ModifiedCatchRate)1/5.33 A number generator is then decided between 0 and 65535. If the number is less, then it's success. 4 shakes mean the capture is successful. Modified Catch Rate1.85√(SpeciesCatchRate * (Players x Berry) * 1.25) There's another method that helps the catch rate. As you increase your catches of the same species of Pokémon, the capture rate will increase. This does not have to be within a combo. Catch Progress4√(10000/((1000-TotalCaught)/100)*CP+1) The final Spceies Catch Rate shown is showcased by the Ring
In addition to that, if you're playing in local co-op play and both players throw the ball and it hits at the same time, you'll get a boost due to the Synchronized capture. PlayersNumberOfPlayers * (CatchProgress*(#8730;((Player1Ball + Player2Ball)/NumberofPlayers)*NewbieModifier)3) Newbie Modifier is 1 as standard but 1.5 if you haven't reached Viridian Forest Finally, there are three different berries that improve the rate of capture. Each Berry has a higher boost making capture a lot easier than standard. The technique also factors in, where if you hit the Poké Ball inside the circle as it goes down, you'll get a special bonus with an increase Berry #8730;(Technique * Berry)
|
 |
||||||||||||||||||||||||||||||||
| Experience | |||||||||||||||||||||||||||||||||
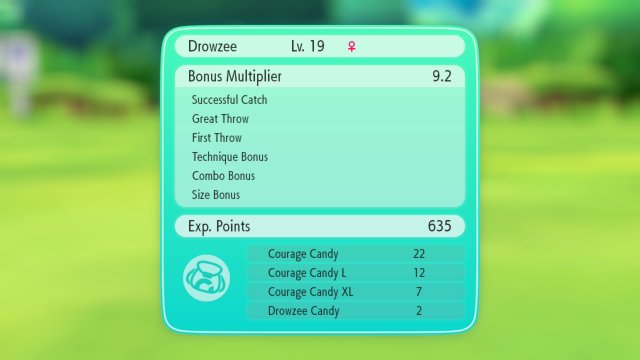
Experience gained works the same as before, using the wild Pokémon's level and base experience in order to determine how many experience you gain, scaled depending on your Pokémon's level. However, there are ways to get even more experience. When you cach a Pokémon, you now get various experience bonuses based upon how well your capture went. Each bonus is then multiplied in from the standard 100% (and rounded down to 1 Decimal Place) in order to get bonuses even as high as *80
|
 |
||||||||||||||||||||||||||||||||


