

Ruins |
|
|
Unlock Requirement: Complete Durice Island Illumina Spot Requirements for Research Level These ruins could be the key to understanding Lental's history. Pokémon have stood guard here for a long, long time. | 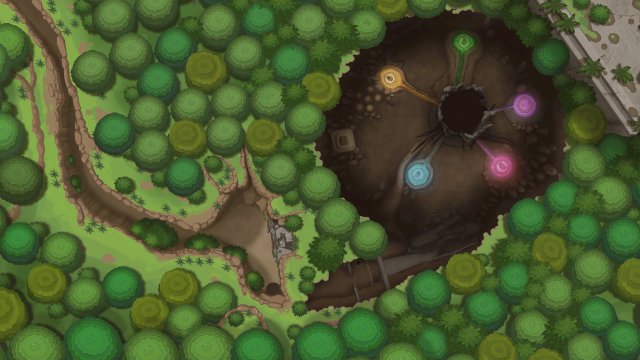 |
Complete Research Map |
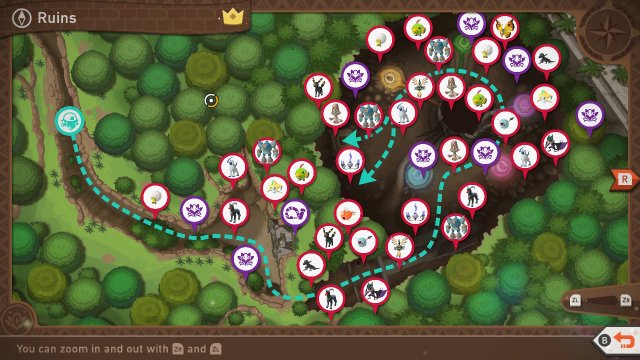 |
List of Pokémon Available in Ruins of Remembrance at Ruins
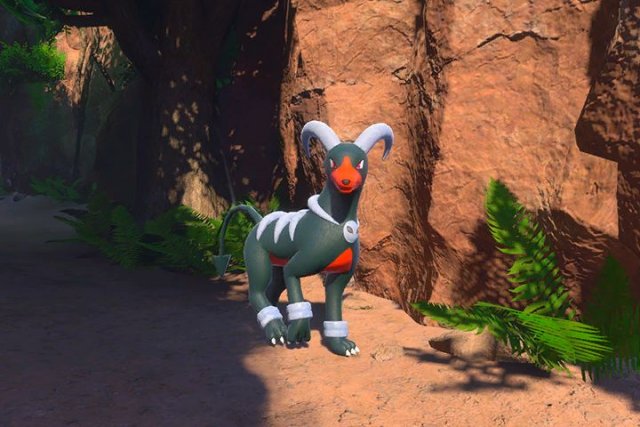
Houndoom | |
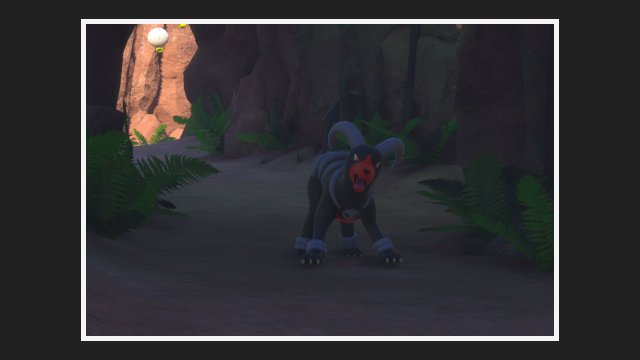 |
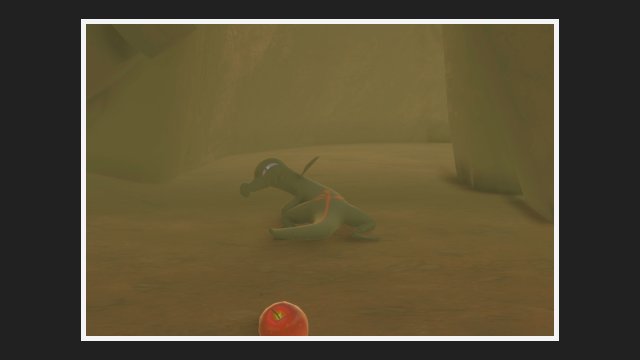
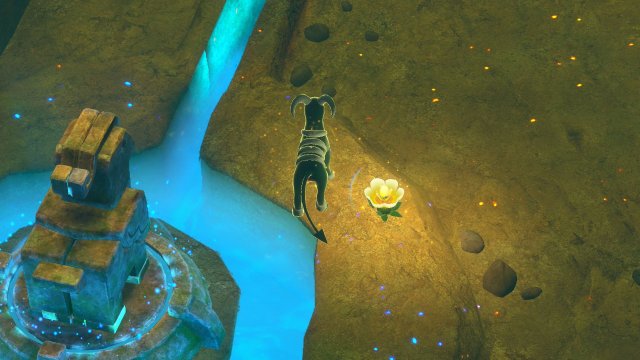
Houndoom is the guard of the Ruins and can be found at the front of the stage. In early Levels they will react to your presence with anger but at Level 3 you will find them sleeping and be generally more personable. |
| Minimum Research Level: Research Level 1 | |
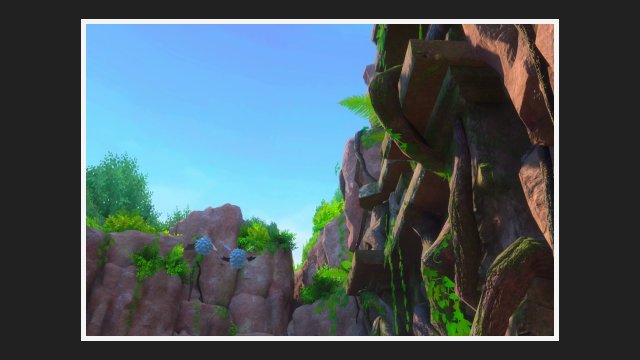
Eldegoss | |
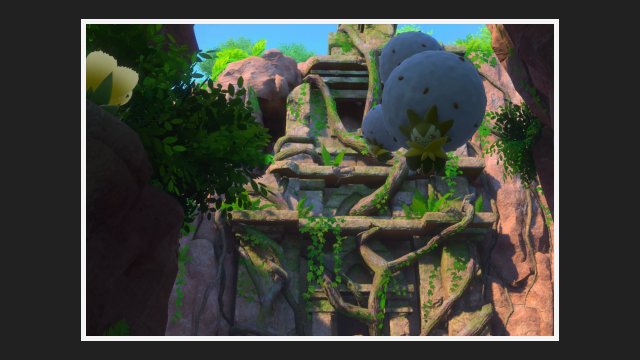 |
Eldegoss can be found in two areas of the stage. First you will find a group floating around in front of the ruins outside. If you hit them with the Illumina Orb or a Crystablooms then they will spin harder and may even release some cotton if you lure a Natu near them. In the internal part of the ruins, you will see 3 Eldegoss gathered around a Crystablooms. If you hit them with Illumina Orbs, you will then be able to get them to move |
| Minimum Research Level: Research Level 1 | |
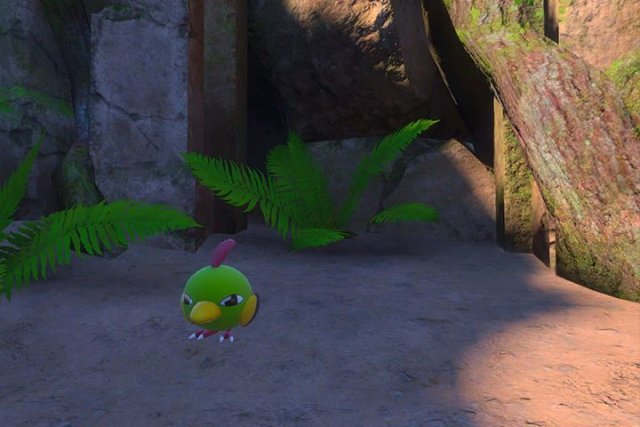
Natu | |
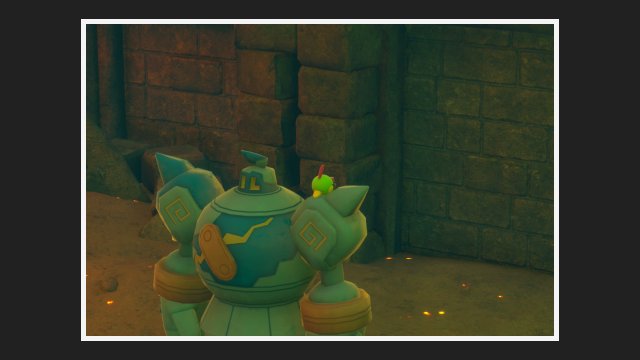 |
Natu can be found in the ruins in two ways. In Level 1, if you throw Fluffruit at the ruins, it will come out and perch itself on the Fluffruit for a picture. Level 2 onwards you can get a Natu out of the cliffside to the left by throwing Fluffruit at it. It can interact with Eldegoss here for a 4 Star Eldegoss Natu can be found perched on a Golurk inside the ruins. It can be awakened with the Illumina Orb where it'll jump off and then find some friends |
| Minimum Research Level: Research Level 1 | |
Beheeyem | |
 |
Beheeyem can be found inside the ruins and will be using its powers. Later on in the stage, one can be found around a Golurk that won't awaken unless you hit every Crystablooms in the stage. At Level 3, you will also find a Beheeyem asleep floating around |
| Minimum Research Level: Research Level 1 | |
Salandit | |
 |
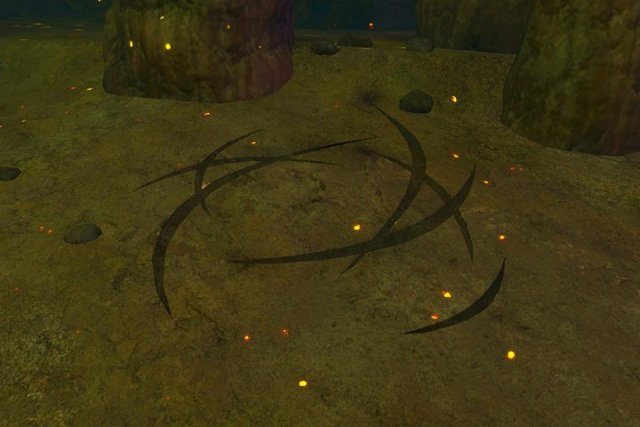
Salandit has a couple of appearances. Its first appearance is as ytou enter the ruins. In Level 1, one will run away from you while at Level 2, you will have 3 appear and they'll face off against a Houndoom. Finally at Level 3, you will need to move the Noivern for it to come out. Another Salandic an be seen inside the ruins. You will come across some battle scarred area and can lure Salandit out to it where it will have a battle with Noivern for a 4 star photo |
| Minimum Research Level: Research Level 1 | |
Noivern | |
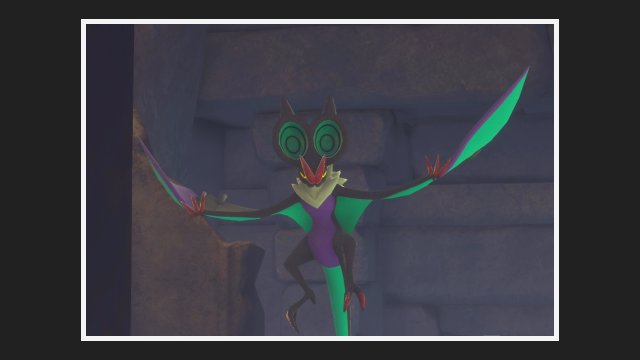 |
Noivern can be found as you enter the ruins. It will dance if you hit itwith an Illumina Orb. When you're in the ruins itself, you will be able to see some Noivern flying around |
| Minimum Research Level: Research Level 1 | |
Sigilyph | |
 |
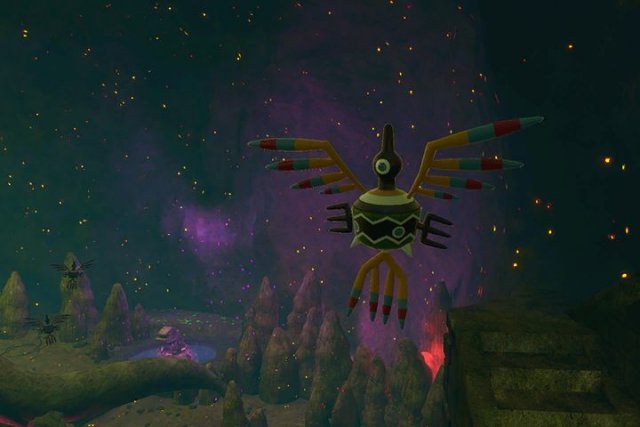
Sigilyph can be seen in the internal parts of the ruins moving around and taking guard. After it sees you, it will use various attacks in your direction which make for good photo opportunities |
| Minimum Research Level: Research Level 1 | |
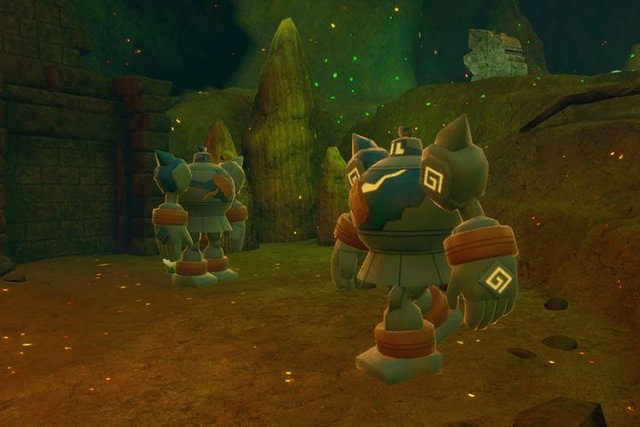
Golurk | |
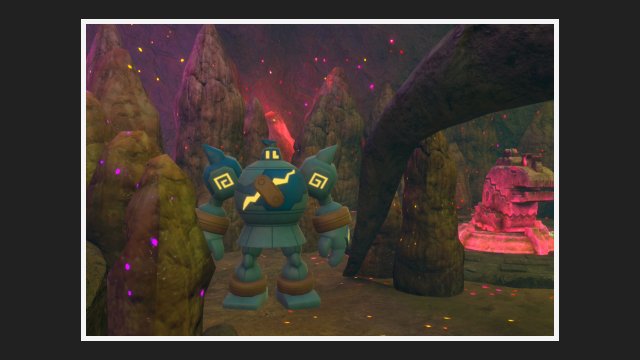 |
Golurk can be found around the internal part of the ruins. You will see them walking around the area standing guard, but they will react to Fluffruit and Illumina Orbs When you reach Level 3, as you start the stage and reach the ruins, two Golurk will be seen flying overhead for another 4 star photo opportunity. In the ruins, get the two Beheeyem to meet by throwing Fluffruit at the first, then again after it moves Golurk. Then, two Golurk will fly into the ruins. |
| Minimum Research Level: Research Level 1 | |
Chandelure | |
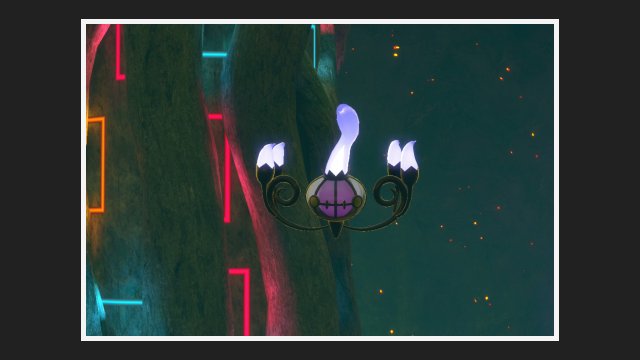 |
Chandelure can be seen in Research Level 2 flying around the internals of the ruins |
| Minimum Research Level: Research Level 2 | |
Absol | |
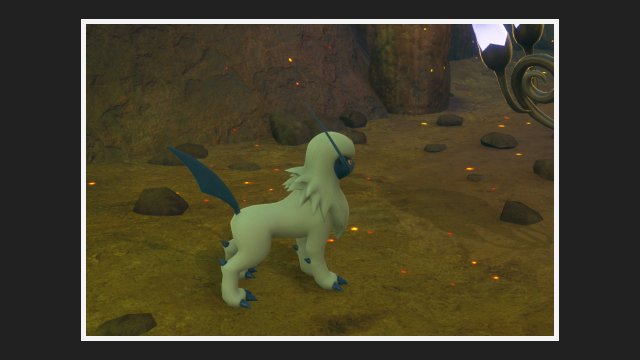 |
In Level 2, you will find Absol in the main part of the ruins on the ground where it will interact with you more. In Level 3 reach, you will find it outside of the ruins when you use Melody. It will come from a cliffside to the left and then jump down into the ruins. You will see it throughout the internals of the ruins including around a spot where it will fight with Salandit if properly lured together |
| Minimum Research Level: Research Level 2 | |
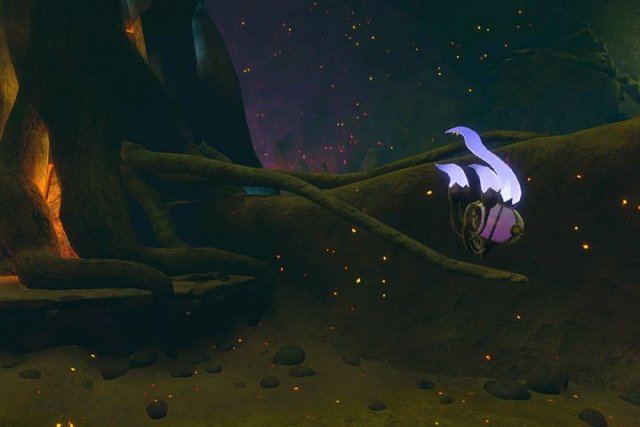
Woobat | |
 |
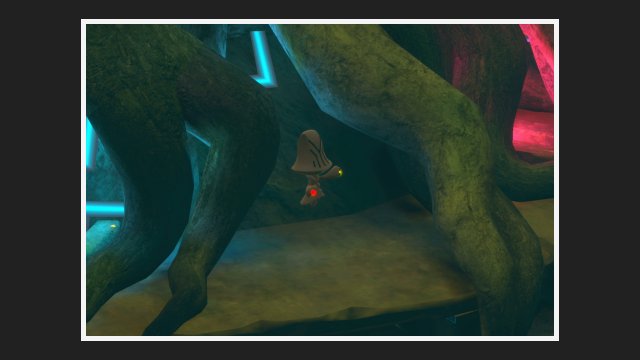
Woobat can be found through a simple element of throwing a Fluffruit into a well as you are about to enter the main part of the ruins. It will fly upwith Illumina Energy before affixing itself to a wall inside. From Level 3, when you go to enter the ruins, a cauldron of Woobat will fly up at you. |
| Minimum Research Level: Research Level 1 | |
Magikarp | |
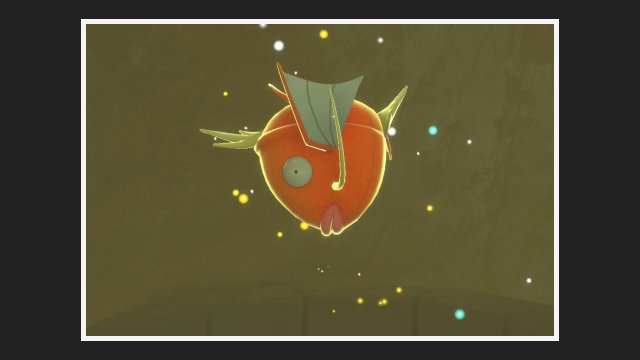 |
Magikarp can be found by throwing multiple Fluffruit into the well where Woobat can be found. |
| Minimum Research Level: Research Level 1 | |
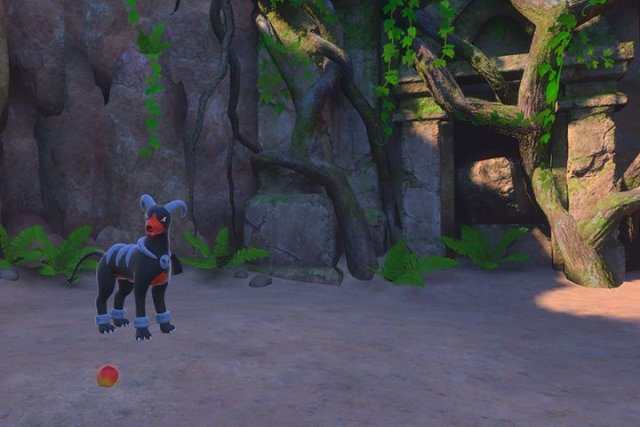
Umbreon | |
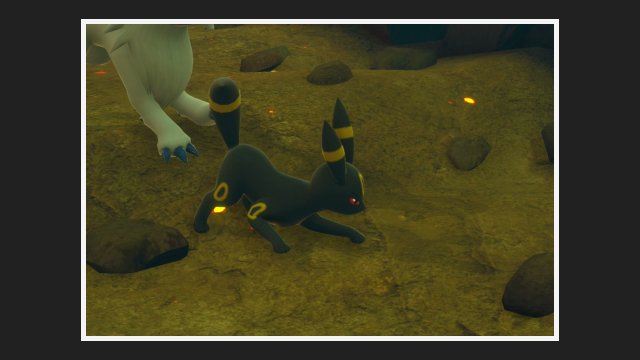 |
Umbreon can be found in Level 3 of the Ruins. When you help the Salandit exit the area at the front of the ruins and hit it with an Illumina Orb, Umbreon will quickly follow and jump into the main part of the ruins. As you go through the ruins, you will see Umbreon walking and playing, able to be affected by Illumina Orbs and Fluffruit. Its 4 Star interaction has it growling at Absol |
| Minimum Research Level: Research Level 3 | |
Vivillon (Continental Pattern) | |
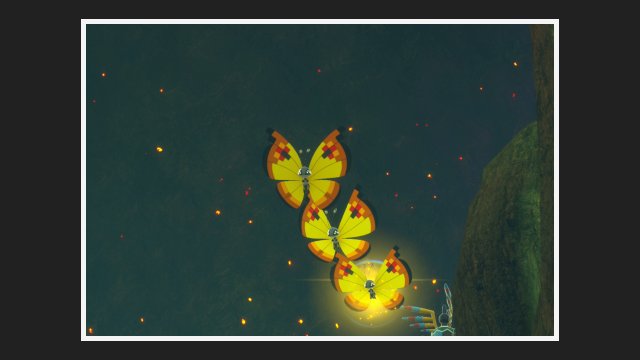 |
Vivillon's Continental Pattern can be found at the end of the stage. If you have hit every single Crystablooms in the stage, when you near the end look behind you and three Vivillon will be flying towards you |
| Minimum Research Level: Research Level 3 | |
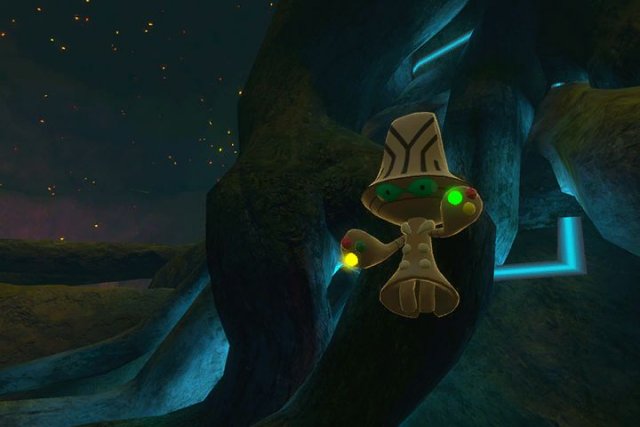
Jirachi | |
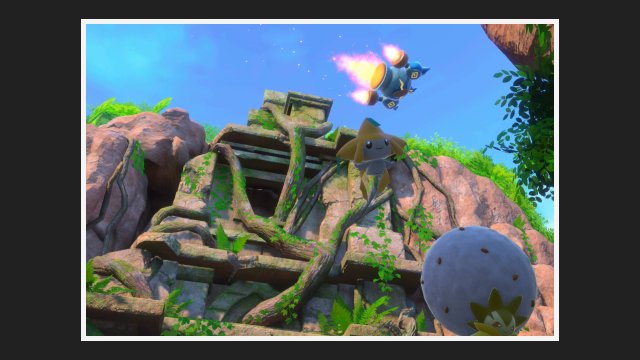 |
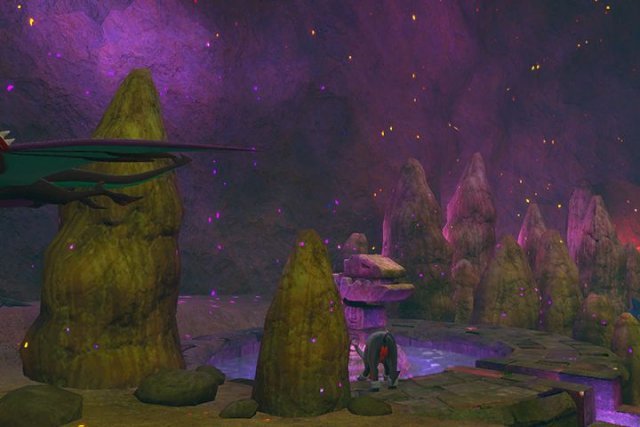
Complete the game and it'll appear at the start and will be able to get a special interaction when hit with an Illumina Orb. When you're inside the ruins, you will find another Jirachi sitting on top of the purple pillar. If you hit it with 2 Illumina Orbs, it will wake up and fly off to the left. If you then activate all the Crystablooms in the ruins, it will fly towards the pillar of light. If you play the music, Jirachi will start dancing around the pillar of light. Do it again and it'll come to you and will have a magical wish which activates its 4 star photo opportunity |
| Minimum Research Level: Research Level 2 | |
Missions in Stage
Do note, you need to have received the Research Mission before you can complete it.
| Mission | Unlock | |
 |
Houndoom's Breather | Get a picture of Houndoom relaxing outside by stretching and yawning. This is simply done by leaving it alone and waiting for it to do si |
 |
Blowing Seeds | Get a picture of Eldegoss healing another Pokémonby throwing Fluffruit at the cliff to the left to knock Natu out of the cliff |
 |
Just Perching Here | In Level 1, get a picture of Natu perching on Fluffruit by luring it out of the ruins with the Fluffruit |
 |
A White Pokémon | Get a picture of Absol outside eating Fluffruit by luring it out by throwing Fluffruit at the cliff |
 |
Salandit's Battle Plan | Get a picture of the fight between Salandit and Noivern by luring Salandit into the battle area with Fluffruit. Make sure to get both in the photo |
 |
Gracefully Gliding | Get a picture of Noivern gliding inside in the ruins. This can be done by luring it to battle with Salandit |
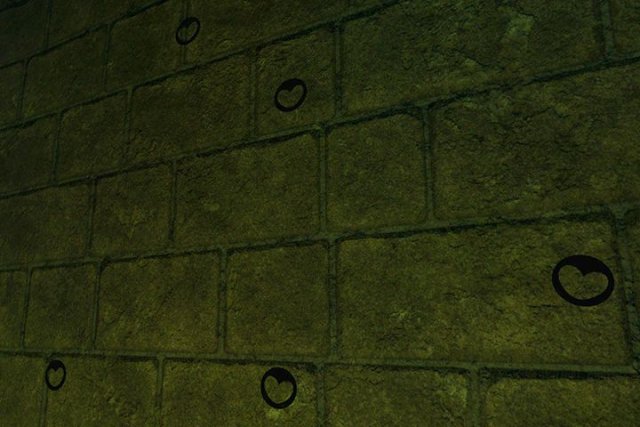 |
The Mysterious Heart | Get a picture of Woobat near the Heart Marks in the ruins |
 |
A Break between Patrols | Get a picture of a resting Sigilyph next to the door into the ruins |
 |
Drowsing Beheeyem | Get a picture of Beheeyem sleeping on its back floating. This is done by taking photographs and hitting Crystablooms |
 |
Two Golurk | Get a picture of two Golurk flying into the ruins by luring the two Beheeyem together |
 |
Groovy Chandelure | Get a picture of Chandelure having a happy dance by playing music and hitting it with an Illumina Orb, then feeding it when it's near the end of the ruins. After that, play Melody and it will start dancing |
 |
Fading into the Shadows | Get a picture of Umbreon in the entrance of the ruins by removing Noivern using Melody and throwing a Fluffruit, then waiting for Salandit to summon it. Make sure to take a picture of it in the ruins entrance |
 |
Myth of the Ruins | Get a picture of Jirachi awakened within the Ruins, then when the light pillar is open by hitting all Crystablooms, play Melody twice to see it make a wish |
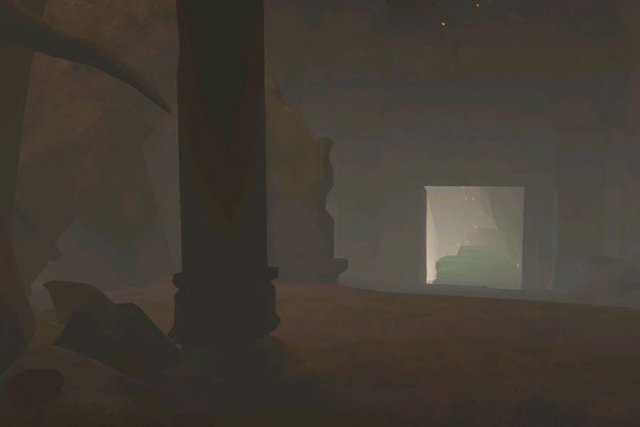
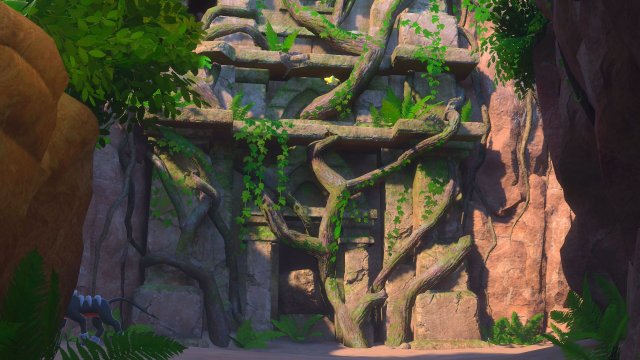
Ruins Locations
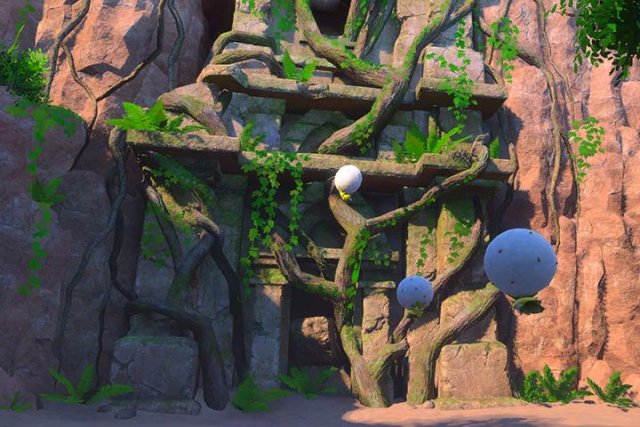
Ancient Ruins |
|
 |
Professor Mirror's Analysis: Details |
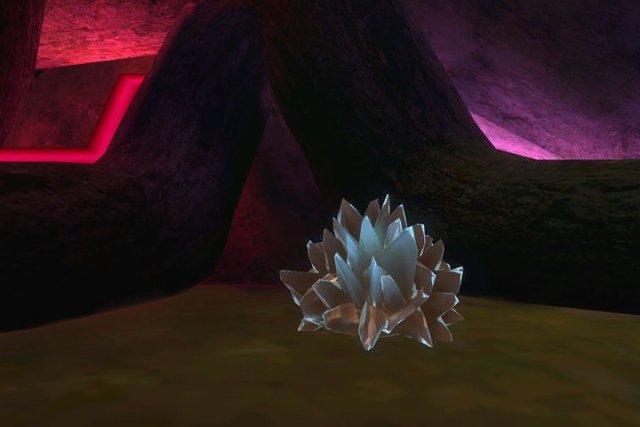
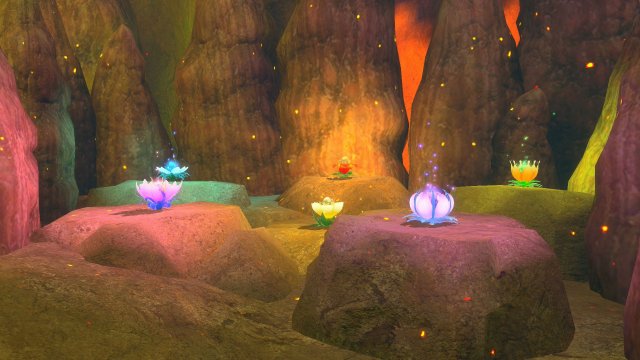
Crystabloom Locations
That's an Aurus Island crystabloom. They contain traces of each type of energy we've detected around Lental. We believe they may be the progenitor of all other species of crystabloom.
Crystabloom 1 |
|
 |
You can find this Crystabloom right as you go towards the ruins. Activating it near Eldegoss will cause them to have an animation |
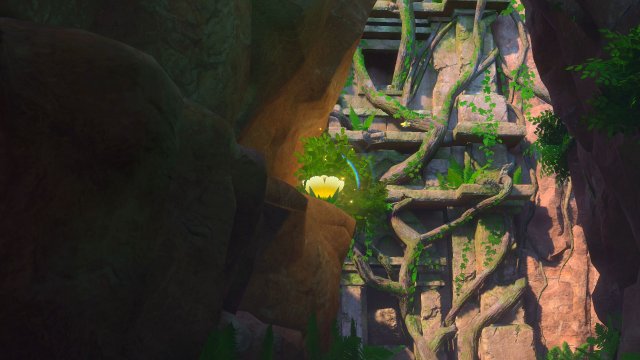
Crystabloom 2 |
|
 |
You can find this Crystabloom right as you go towards the path into the ruins |
Crystabloom 3 |
|
 |
You can find this Crystabloom right by the Meganium statue in the ruins |
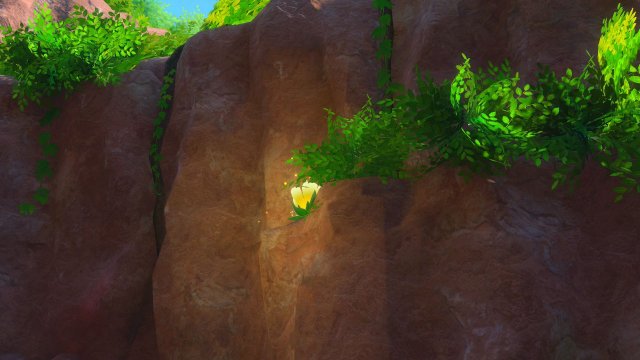
Crystabloom 4 |
|
 |
You can find this Crystabloom right by the Wishiwashi statue in the ruins |
Crystabloom 5 |
|
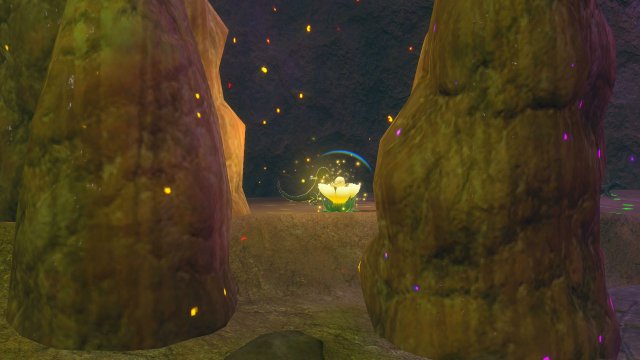 |
You can find this Crystabloom right between two rocks near the Milotic statue in the ruins |
Crystabloom 6 |
|
 |
You can find this Crystabloom right behind some Eldegoss by the Volcarona statue. Hit the Eldegoss with an orb to move them to hit it |
Crystabloom 7 |
|
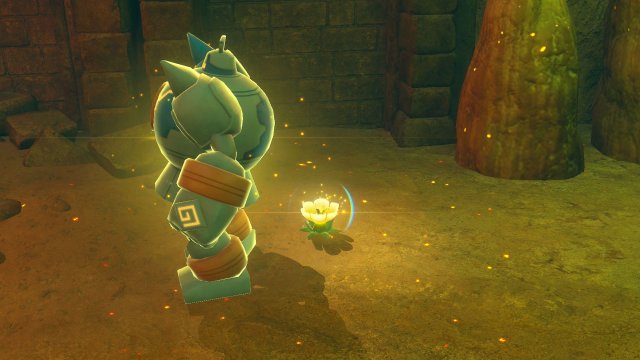 |
You can find this Crystabloom right behind Golurk. Hit it with an Illumina Orb for it to move out of the way. It activates the Steelix statue |
Crystabloom 8 |
|
 |
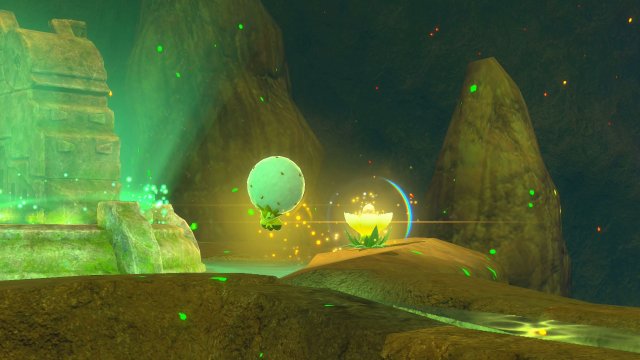
You can find this Crystabloom in a small clearing with other Crystabloom. The other Crystabloom will activate if you activate the others throughout the ruins. Then, activate the one in the middle to open a beam of light |