The Island Trials make a return in Pokémon Ultra Sun & Ultra Moon but with a change. There are some altered and new trials, as well as new Totem Pokémon. The Island Trials are small challenges set by various leaders around Alola to help trainers participate in the Island Trial Challenge, and you cannot capture any Pokémon during the trial. In Ultra Sun & Ultra Moon, there are 8 official trials and a ninth unofficial one.
| Trial #1: Normalium Z |
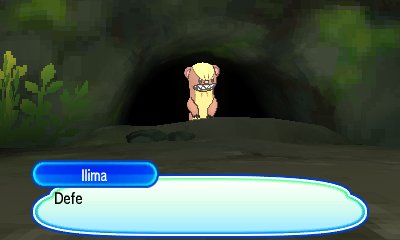
Trial Captain: Ilima
Location: Verdant Cavern - Melemele Island
Details:
The first trial is set by Ilima after you have battled him in Hau'oli City. When you enter Verdant Cavern, you are sent to find the three Pokémon that are in the cave. These Pokémon are Yungoos (Sun) or Rattata (Moon). When found, they will attack you, at Level 11, and cannot be captured. Half way through the trial, Team Skull appear to mess things up. The third Pokémon is a Gumshoos or Raticate depending on your version.
When defeated, you're allowed out of the Trial Site towards the Totem's Den where the Normalium Z can be found.
|
 |
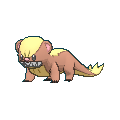
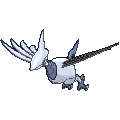
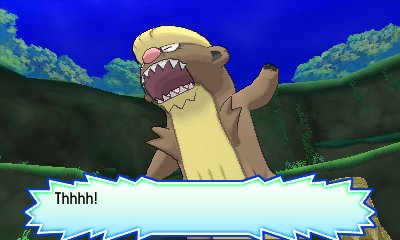
| Totem #1: Gumshoos/Raticate |
Trial Captain: Ilima
Location: Verdant Cavern - Melemele Island
Details:
The Totem Pokémon actually varies depending on version. If you are playing Pokémon Ultra Sun, it will be Gumshoos and if you are playing Pokémon Ultra Moon, it will be Raticate. The Totem Pokémon's Defense stat is raised by 1 stage. Defeat them to obtain the Normalium Z and end the trial
|
|
| Trial #2: Waterium Z |
Trial Captain: Lana
Location: Brooklet Hill - Akala Island
Details:
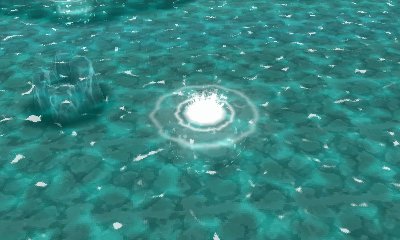
The next trial is set by Lana as you enter Brooklet Hill. She will ask for your assistance in herding a load of Wishiwashi down to the bottom of the area. However, each section of the area has got multiple bits of water splashing within it. One of them is Wishiwash, the rest are various Dewpider that you have to take care of.
Once you reach the bottom, then you can enter the Totem's Den to take care of the Totem.
|
 |
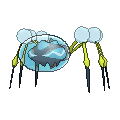
| Totem #2: Araquanid |
Trial Captain: Lana
Location: Brooklet Hill - Akala Island
Details:
Reach the bottom and it will start to rain. When you enter, you'll see the group of Wishiwashi you herded start to form into its School Form, but before it can complete, a larger shadow comes underwater and bursts from the ocean. It's a Totem Araquanid. The Totem Pokémon's Speed stat is raised by 1 stage. Defeat them to obtain the Waterium Z and end the trial.
|
 |
| Trial #3: Firium Z |
Trial Captain: Kiawe
Location: Wela Volcano Park - Akala Island
Details:
The next trial is set by Kiawe. This trial has you look at two dances by Alolan Marowak and you have to tell the difference between the two. If you fail, Marowak will battle you and you have to try again. If you succeed, Marowak will battle you and you progress. It then adds a Hiker to the mix before the final challenge of the Totem Pokémon.
|
 |
| Totem #3: Marowak |
Location: Wela Volcano Park Hill - Akala Island
Details:
Get the final dance correct, which isn't hard, and the Totem Pokémon, Marowak, will challenge you. Its Speed gets boosted when the battle commences.
|
 |
| Trial #4: Grassium Z |
Trial Captain: Mallow
Location: Lush Jungle - Akala Island
Details:
The next trial is set by Mallow. As in Sun & Moon, it has you hunt for various items in Lush Jungle in order to make Mallow's special dish. However, this time the ingredients are more obvious, but there's a catch. There are multiple options on where to get them and all but one option results in a wild Pokémon attacking you at the end
For the Mago Berry, if you make the wrong selection, a Level 17 Fomantis will attack you.
For the Honey, if you make the wrong selection, a Level 20 Comfey will attack you.
For the Big Root, if you make the wrong selection, a Level 24 Sudowoodo will attack you
Once all ingredients have been collected, then Kiawe and Lana will join for the creation of the meal.
|
 |
| Totem #4: Lurantis |
Location: Lush Jungle - Akala Island
Details:
As the meal is cooked, it will attract the attention of the Totem Pokémon, Lurantis, which will sneak up on you and attack. It has its Speed boosted. Both of the Pokémon it can call will activate Sunny Day for increased Synthesis strength and no charge Solar Blade.
|
 |
| Trial #5: Electirium Z |
Trial Captain: Sophocles
Location: Hokulani Observatory - Ula'ula Island
Details:
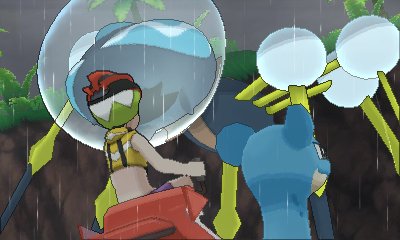
The next trial is set by Sophocles and is a lot different to the one in Sun & Moon. This time, you're asked to complete puzzles making Charjabug line up on a platform. You do this by pressing one of four switches in the corner of the table which causes the four tiles of its corner to rotate. When you have the Charjabug lined up, it will increase power to the Ping Totem. However, this takes three attempts and a Level 29 Elekid and Level 30 Electabuzz appear in the first and second attempts..
|
 |
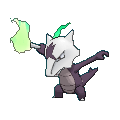
| Totem #5: Togedemaru |
Location: Hokulani Observatory - Ula'ula Island
Details:
When all three puzzles are done, the Ping Totem machine starts overloading. Sophocles' Togedemaru jumps in to absorb the electricity, but can't hold it. This is when the Totem Togedemaru jumps in and takes the electricity. It then challenges you. Its Defense is boosted
|
 |
| Trial #6: Ghostium Z |
Trial Captain: Acerola
Location: Route 14 - Ula'ula Island
Details:
As you travel through Ula'ula Island, you will meet Acerola who, eventually, confirms that she is the next Trial Captain. She will explain that the next trial takes place in the Abandoned Thrifty Megamart in Route 14 and involves you explorinjg the abandoned store and looking for ghostly happenings. As you do so, you battle a Gastly, Haunter and Gengar, all Level 30. At the end, you'll see Acerola who insists you leave, but eventually disappears.
|
 |
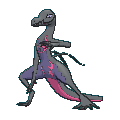
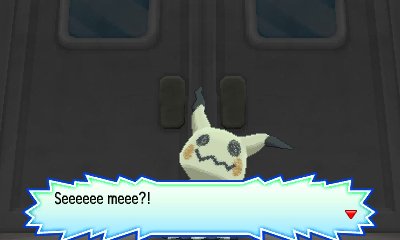
| Totem #6: Mimikyu |
Trial Captain: Acerola
Location: Route 14 - Ula'ula Island
Details:
Eventually, you'll follow the ghost of a Pikachu into the back room of the store, which is adorned with pictures of Pikachu. Take out your PokéFinder and you'll battle the Totem Pokémon, a Mimikyu.All its stats are increased for the battle. Afterwards, Acerola informs you that there is no back room to the mart and that she wasn't inside.
|
 |
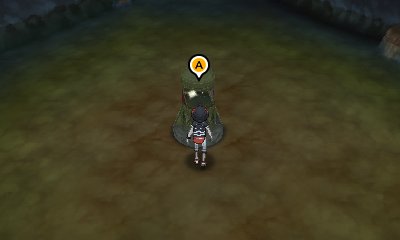
| Trial #7: Dragonium Z |
Trial Captain: None
Location: Vast Poni Canyon - Poni Island
Details:
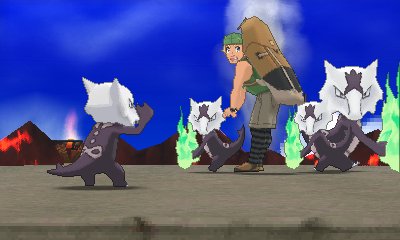
The next trial happens within Vast Poni Canyon, but has nothing to do with the Trial Captain of the island. Instead, in Vast Poni Canyon, you will find the original trial site where trials began long ago. This trial is simply to get through the path to get the Dragonium Z, but as you do you get attacked by a Jangmo-o (Level 40), then by a Hakamo-o (Level 40).
|
 |
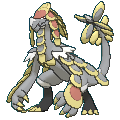
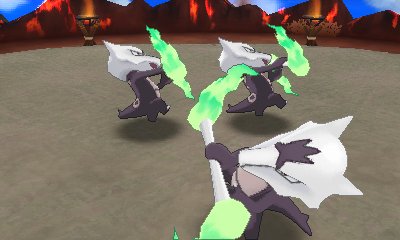
| Totem #7: Kommo-o |
Trial Captain: None
Location: Vast Poni Canyon - Poni Island
Details:
Reach the end, and before you can collect the Dragonium Z, the Totem Pokémon jumps into the cavern and attacks you. All its stats are increased
|
 |
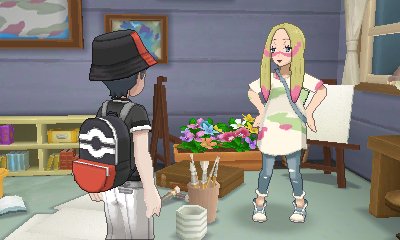
| Trial #8: Fairium Z |
Trial Captain: Mina
Location: Seafolk Village - Poni Island
Details:
The final official trial happens after the Necrozma incident. Go to Seafolk Village and find Mina in her house. She will give you her trial, which is to go battle all of the previous trial captains and obtain a special petal from them. She challenges you first. When you defeat the others, they will offer to take you to the next area
Ilima can be found in Hau'oli Cemetry. In Ultra Sun, you battle Mallow in Lush Jungle and also get Lana's petal. In Ultra Moon, you battle Lana in Lush Jungle and also get Mallow's petal. Next is Kiawe in Wela Volcano Park where you have to battle him and Hiker David. Next is Sophocles in Hokulani Observatory, followed by going to Aether House to battle Acerola. However, as Acerola has left to help Kukui, the task falls to Nanu, who just lost to Hau and can't be bothered to battle you, so gives you the petal in Ultra Sun but battles you in Ultra Moon.
Return to Seafolk Village and Mina will create a Rainbow Flower out of your petals as proof of your success.
|
 |
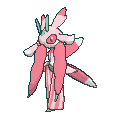
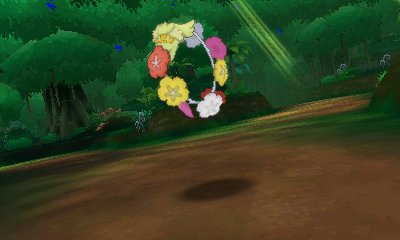
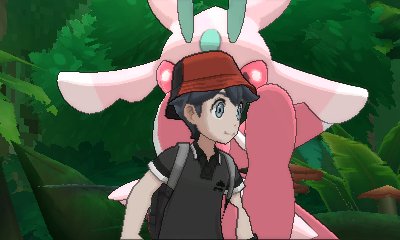
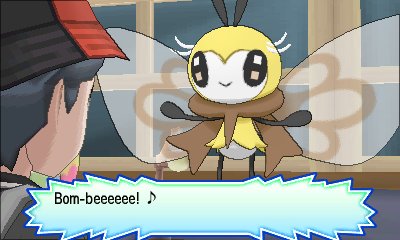
| Totem #8: Ribombee |
Location: Seafolk Village - Poni Island
Details:
Once you have the Rainbow Flower, the Totem Ribombee will come to inspect it, and then battle you. All its stats are increased
|
 |
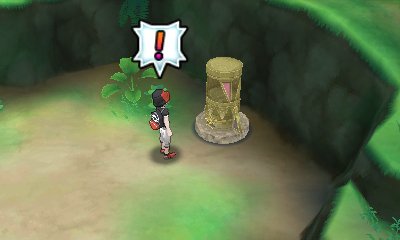
| Ilima's Normalium Z |
Details:
After you have completed the story, Ilima will ask for a favour when you go to see him in his house. He will give you his Normalium Z and request that you go put it into the pedestal in Verdant Cavern. However, doing so will cause the Totem to attack you. Completion of this gets you the outfit of a Trial Guide
|
 |
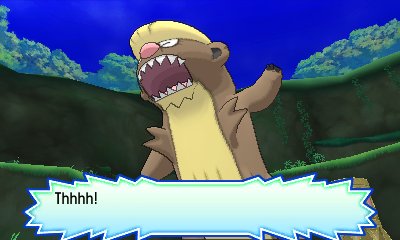
| Totem #9: Gumshoos/Raticate |
Location: Verdant Cavern - Melemele Island
Details:
As before, the Totem Pokémon actually varies depending on version. If you are playing Pokémon Ultra Sun, it will be Gumshoos and if you are playing Pokémon Ultra Moon, it will be Raticate. The Totem Pokémon's stats are all raised by 1 stage.
|
|